
Rooster is the perfect Applicant Tracking System to start organising your hiring process with. Our paid features are designed to ensure that your company’s hiring runs smoothly is uninterrupted.
So, how can you upgrade to Rooster’s paid plan?
Disclaimer: make sure you are the ‘owner‘ of your Rooster account to get access ‘Billing’.
Step 01: Visit Rooster’s billing section
Click on the Settings button on the left-hand side navigation bar and click on Billing.
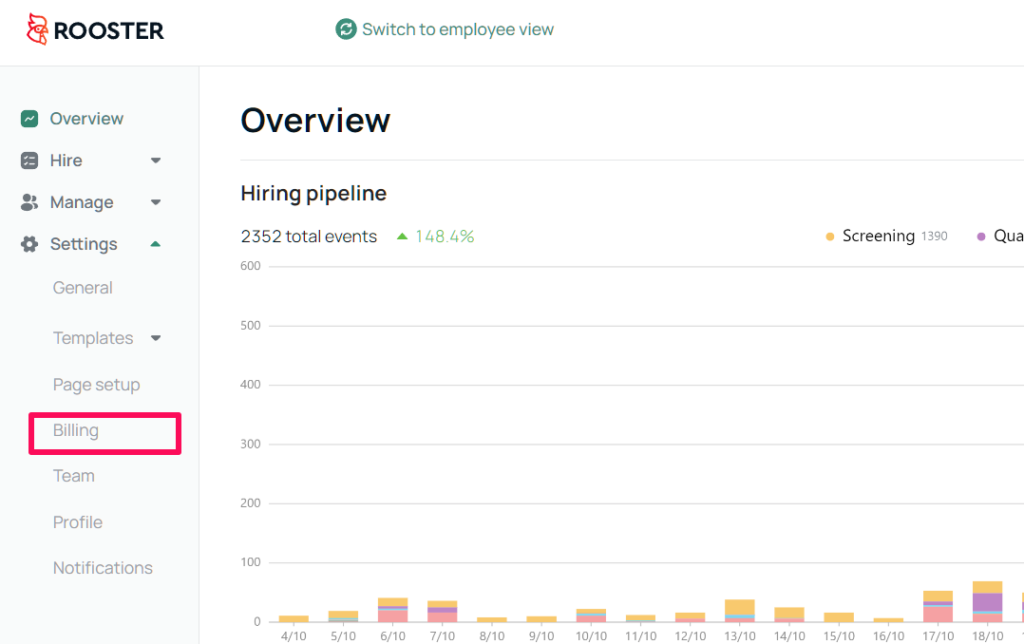
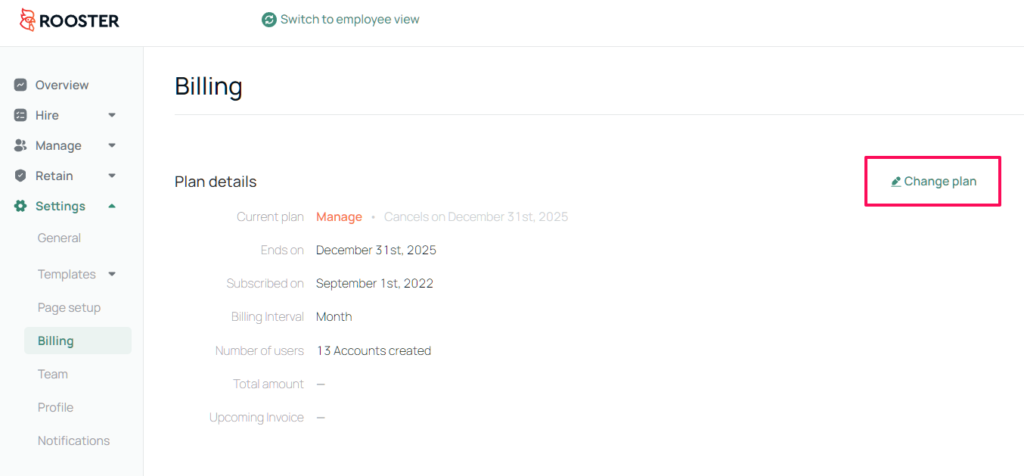
Once you’re in Rooster’s ‘Billing’ section, click on ‘Change Plan’.
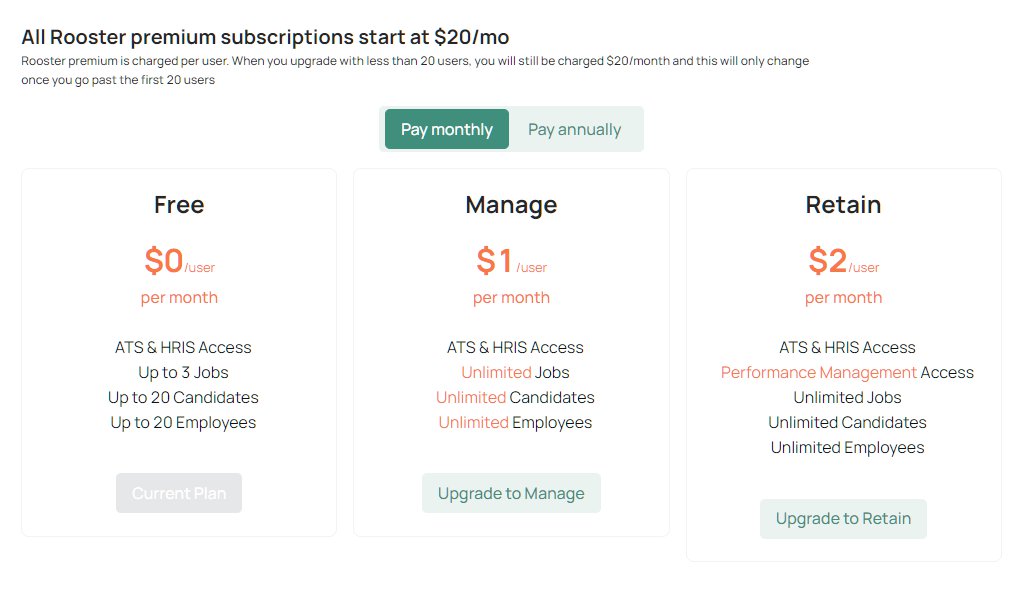
Step 02: Chose a paid plan
You can choose between our monthly or annual subscriptions. Click on Upgrade when you’re ready.
Step 03: Add your payment details
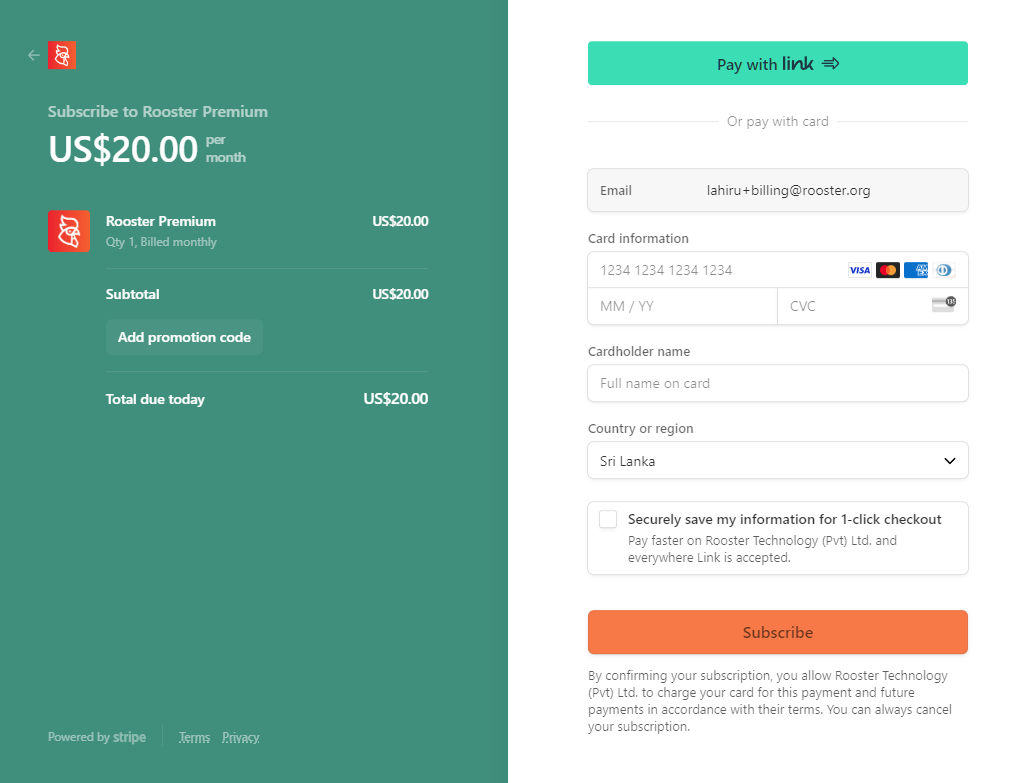
Click on Subscribe when you’re ready.
Congratulations, you can now access all of Rooster’s paid features!
 Facebook
 LinkedIn
 Twitter


0 Comments