
LinkedIn has always been a great place to source candidates for organizations. However, once the CVs, Cover Letters, and applications start pouring in, it becomes a nightmare to organize and sort through all the data. This is where Rooster can step in and make your life a lot easier. Let’s walk through how you can promote your job post on LinkedIn, and how you can connect the Rooster ATS to drive all the data to your hiring pipeline.
Step 01: Open LinkedIn Campaign Manager
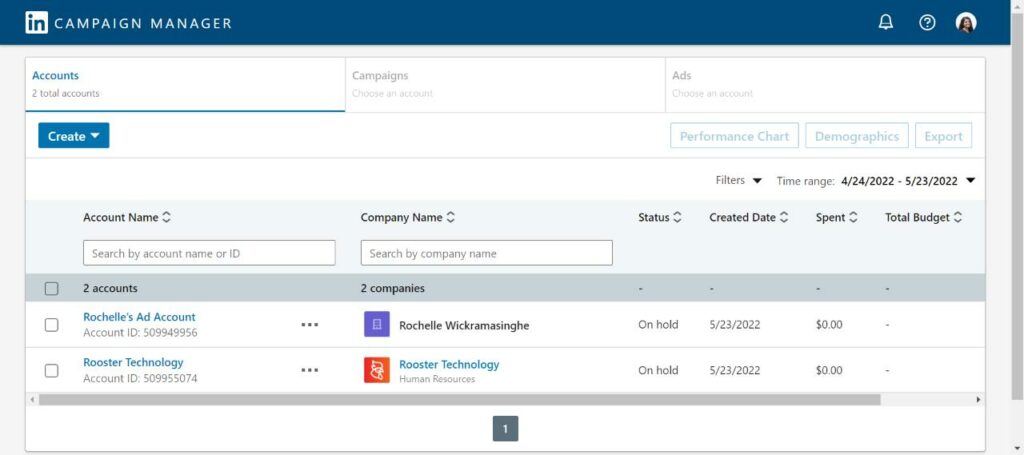
You can access your LinkedIn Campaign Manager account here.
This is what your LinkedIn campaign manager account will look like.
Step 02: Select your ads account
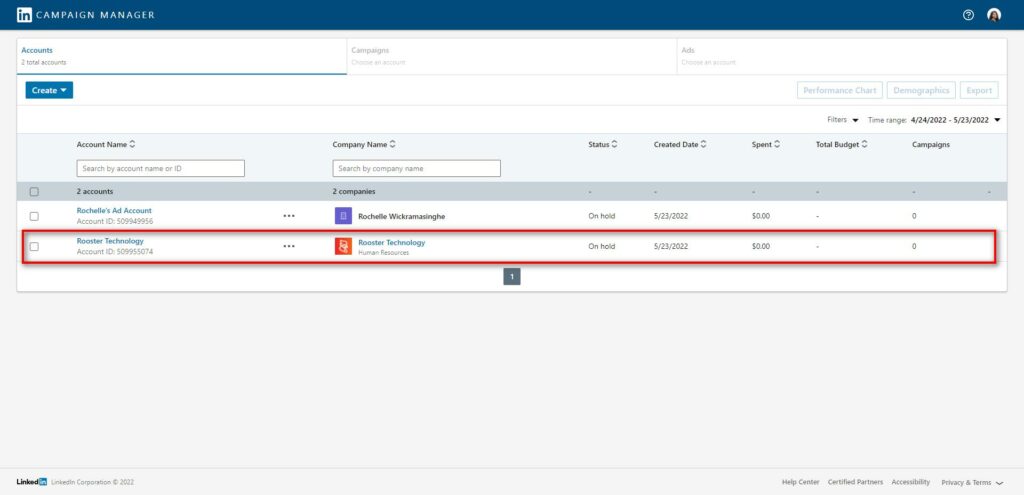
You should see a list of pages your personal LinkedIn account is either an admin or a user of. All you have to do is select the right LinkedIn page/account you want to start running the ad through.
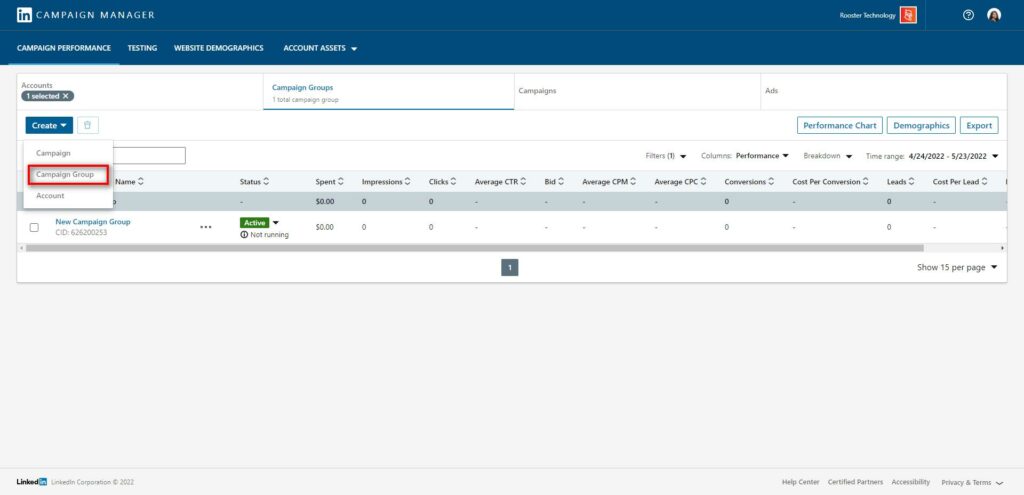
Step 03: Create a campaign group
Creating a LinkedIn candidate sourcing ad is broken down into three main parts:
- Campaign Group
- Campaign
- Ads
Let’s first create a Campaign group for your sourcing ads.
Click on the ‘Create’ button on the top left corner and select ‘Campaign Group’.
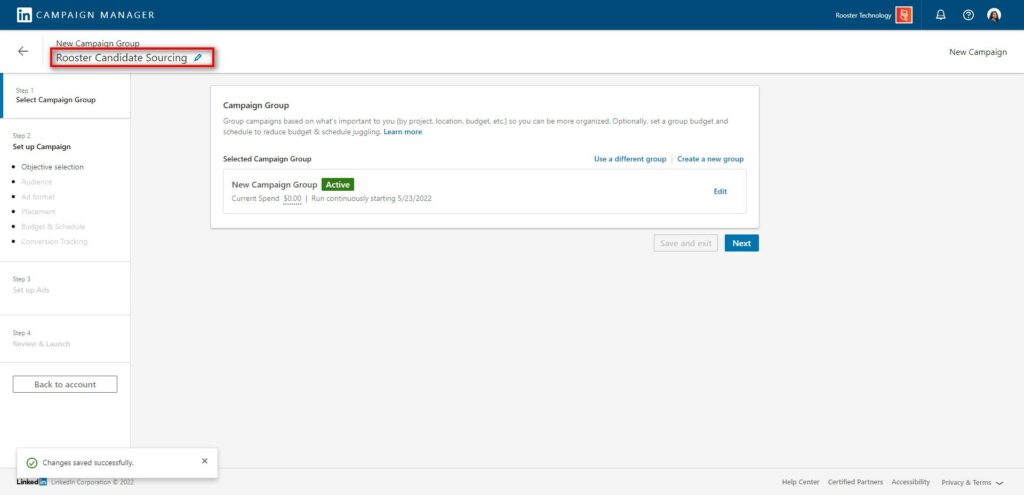
On the new page that appears, name your campaign.
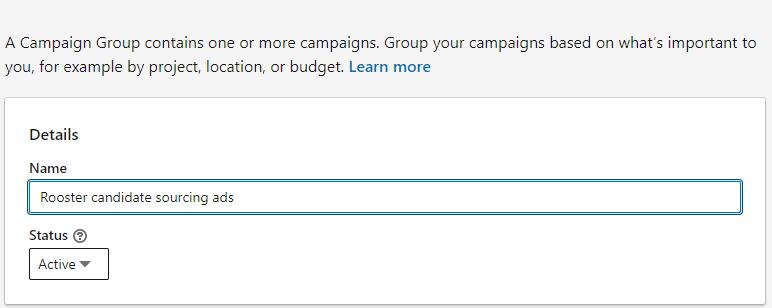
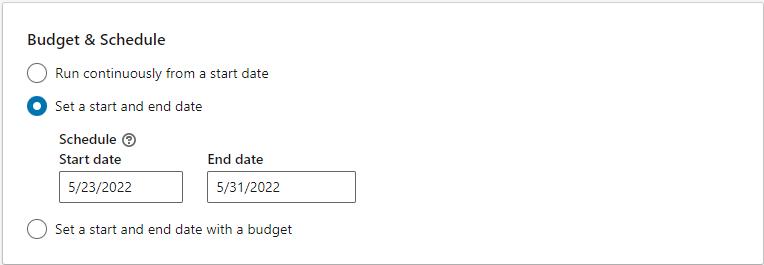
Under ‘Budget and Scheduling’, select ‘Set a start and end date’ and then chose your preferred start and end date.
Once you’ve finished setting up this information, click on ‘Create’.
Step 04: Create your campaign
Back at your ads homepage, click on ‘Create’ and then, chose ‘Campaign’.
- Name your campaign.
Click on ‘Next’.
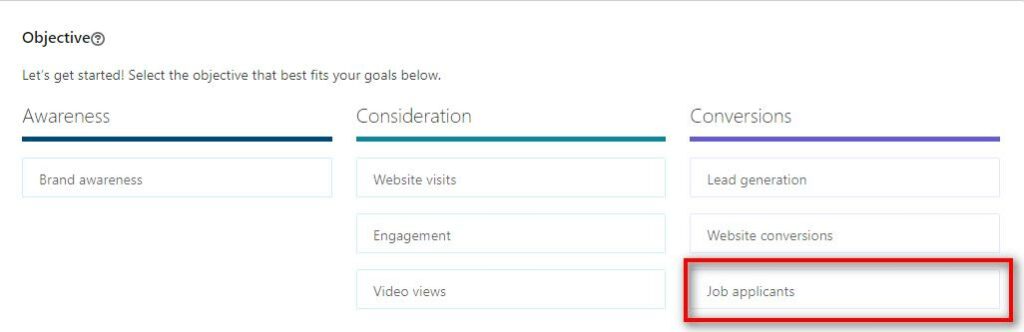
- Under ‘Objectives’, select Job Applicants’.
- Under ‘Audience’, chose where you want your ads to appear.
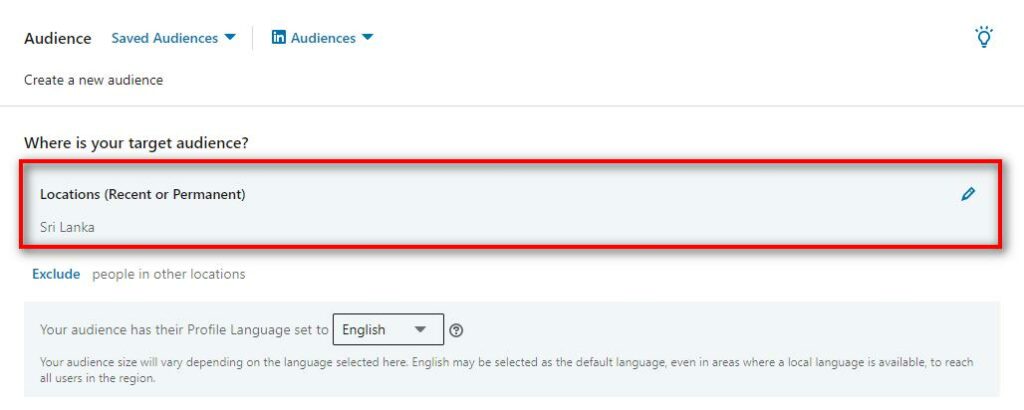
You can choose multiple locations and even get really specific with cities and towns.
You can also make sure that your ads don’t show up in certain locations by clicking on ‘exclude’.
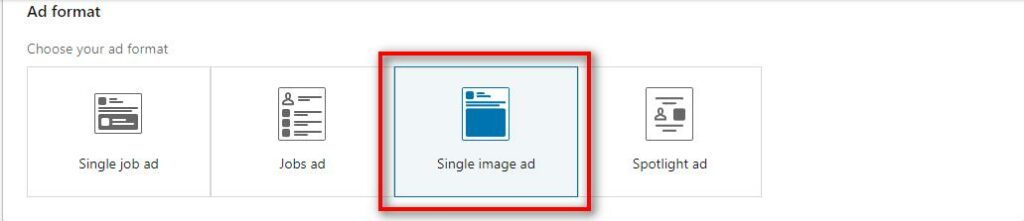
- Next, you can choose your ad format. We recommend using the ‘Single image ad’ format.
- Select a budget and schedule for your ads.
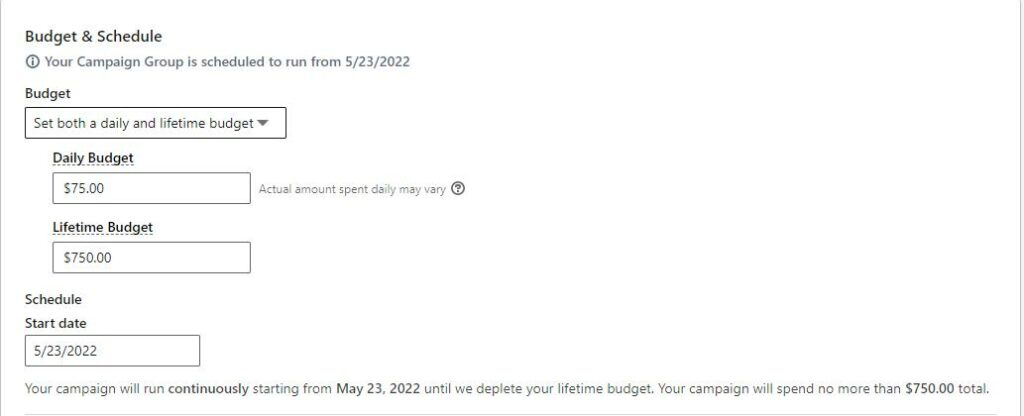
Under ‘Budget’, select ‘Set both a daily and lifetime budget’. This way, you have very defined rules around just how much you’re willing to spend on your LinkedIn campaigns.
- Chose your bidding strategy
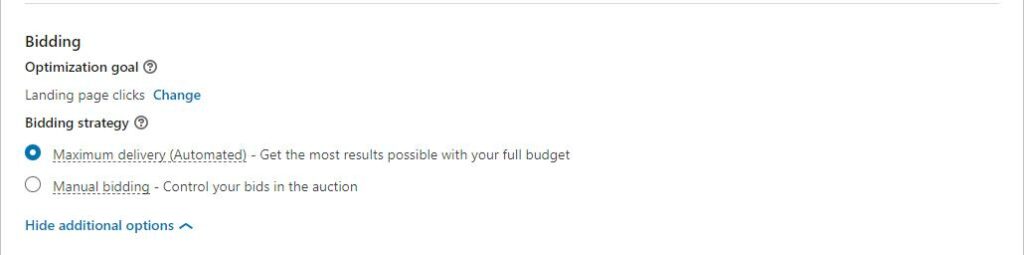
We recommend choosing ‘Maximum delivery (Automated)’.
Once you’ve set all of this up, click on ‘Next’.
Step 05: Set up your ads
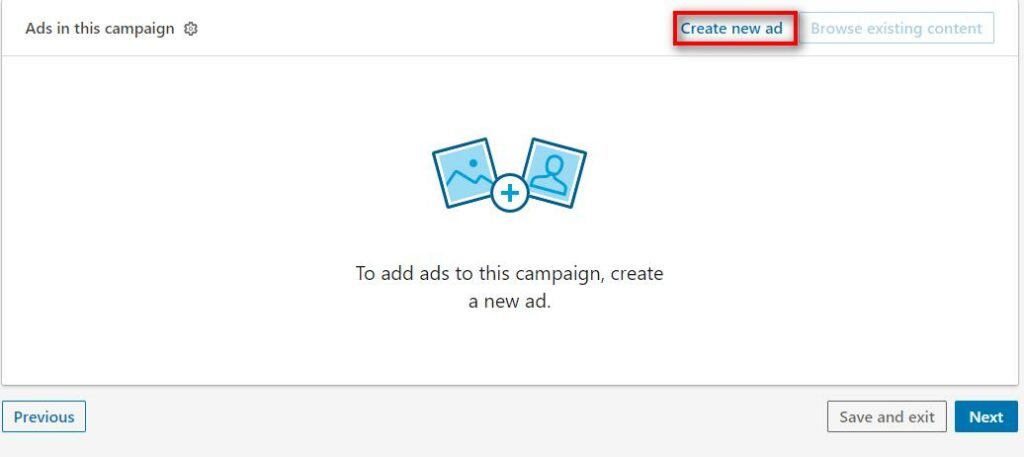
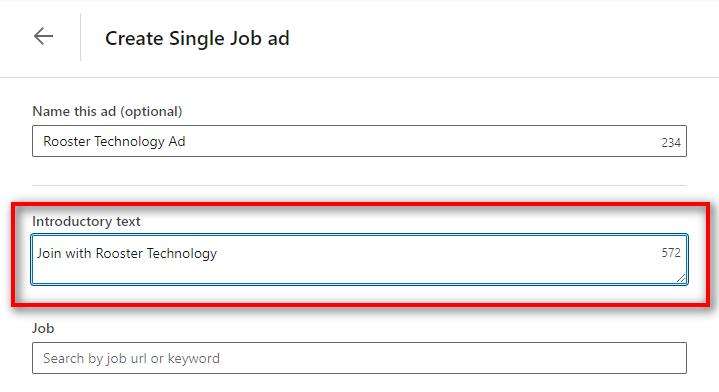
- Click on ‘Create new ad’.
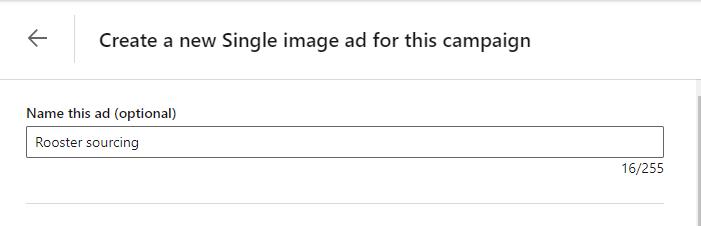
- Name your ad (this is optional)
- Add a small description of the job
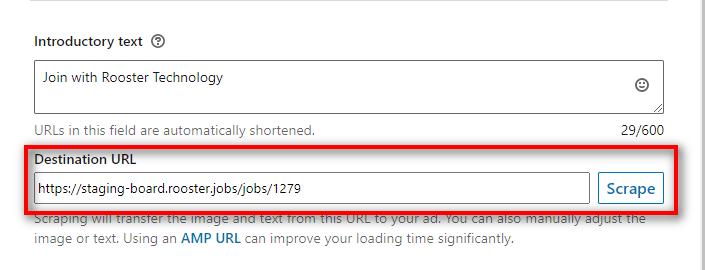
- Enter the Rooster job URL
You can find the unique Rooster job URL here:

Once you copy that URL, paste it here:
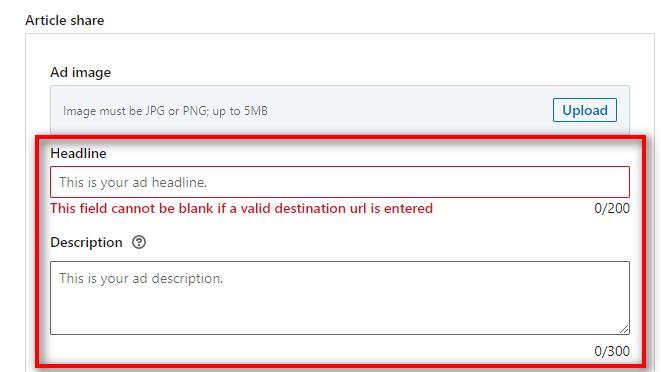
- Upload an image for the job
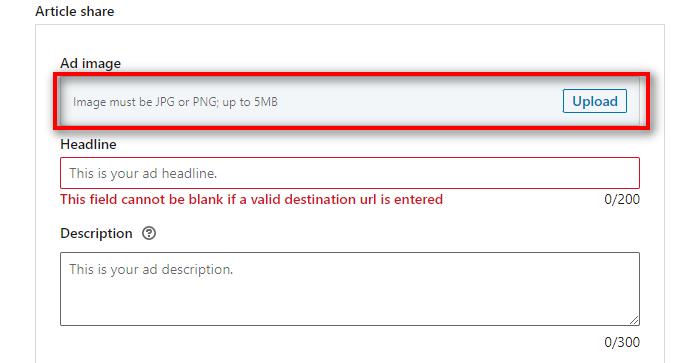
- Add a headline and description
- Click on ‘Create’ and then, click on ‘Next’
 Facebook
 LinkedIn
 Twitter


0 Comments