Facebook/Instagram Ads
Step 01: Facebook Ads Manager
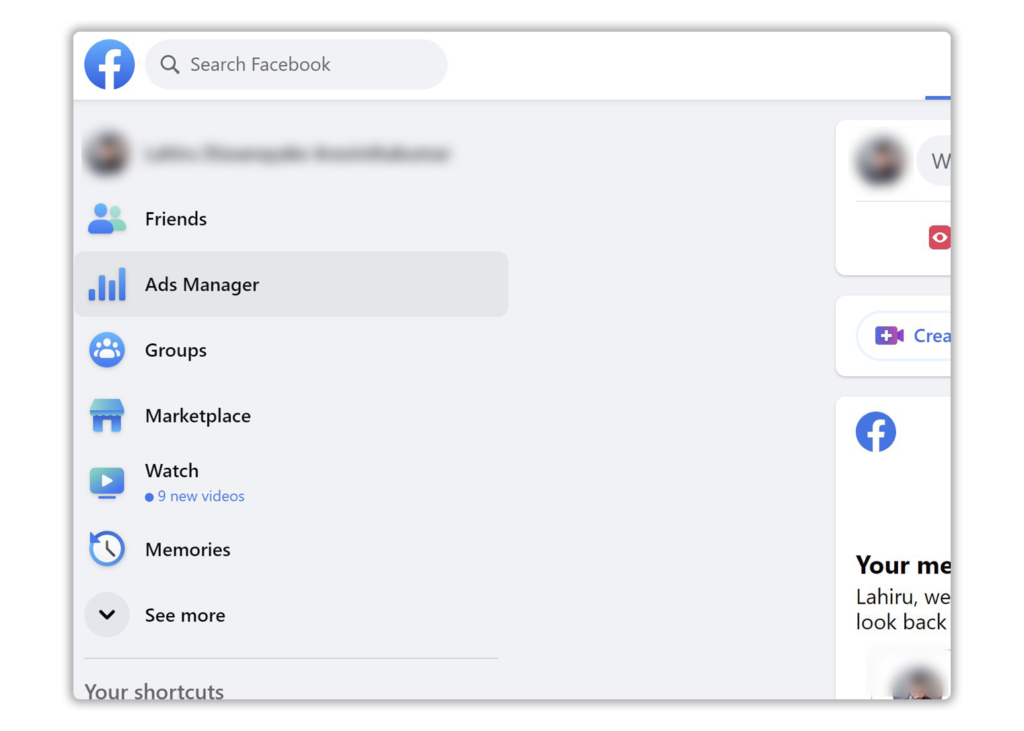
You can find your page’s Facebook ads manager account here.
You can also navigate to your Facebook home page and click on the ads manager icon on the left-hand side navigation bar.
Step 02: Create your ad
- Click on ‘Create’.
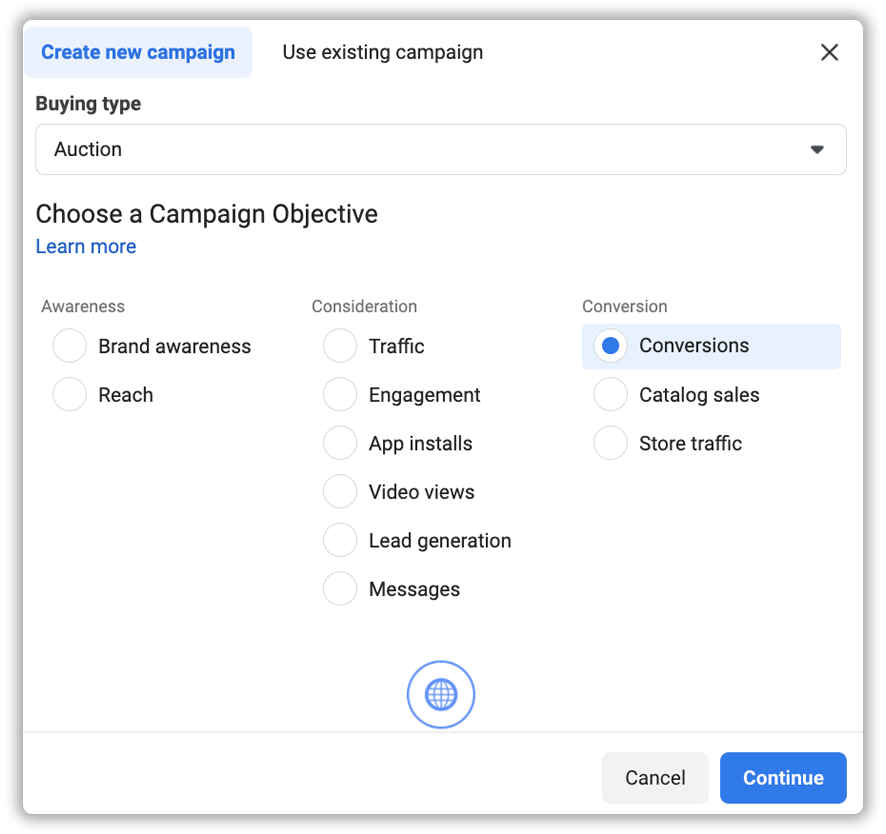
2. Chose ‘Conversions’ as your goals and click on ‘Continue’.
Step 03: Create your campaign
- Name your campaign
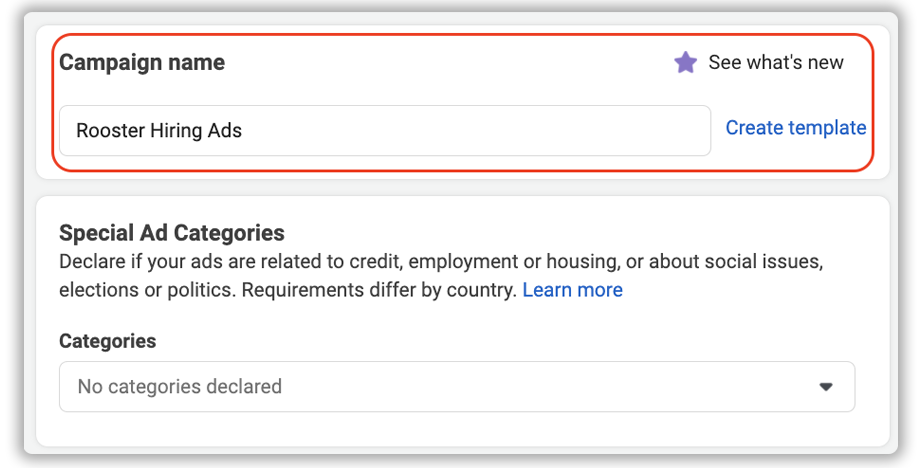
2. Declare as an employment ad
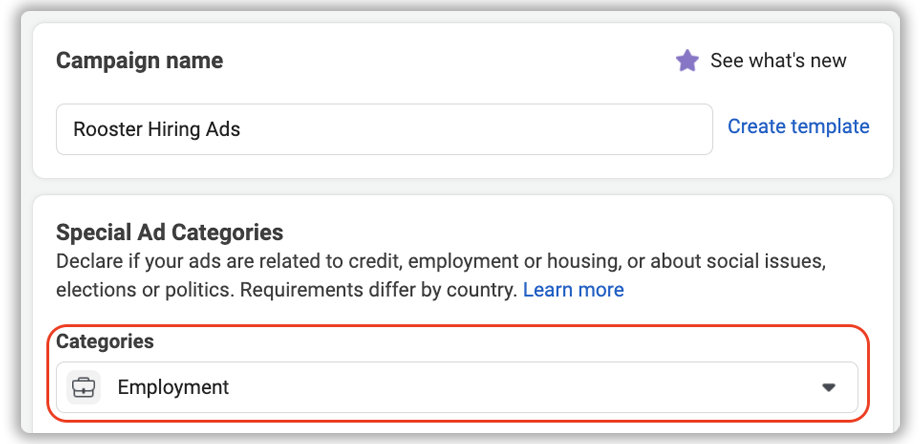
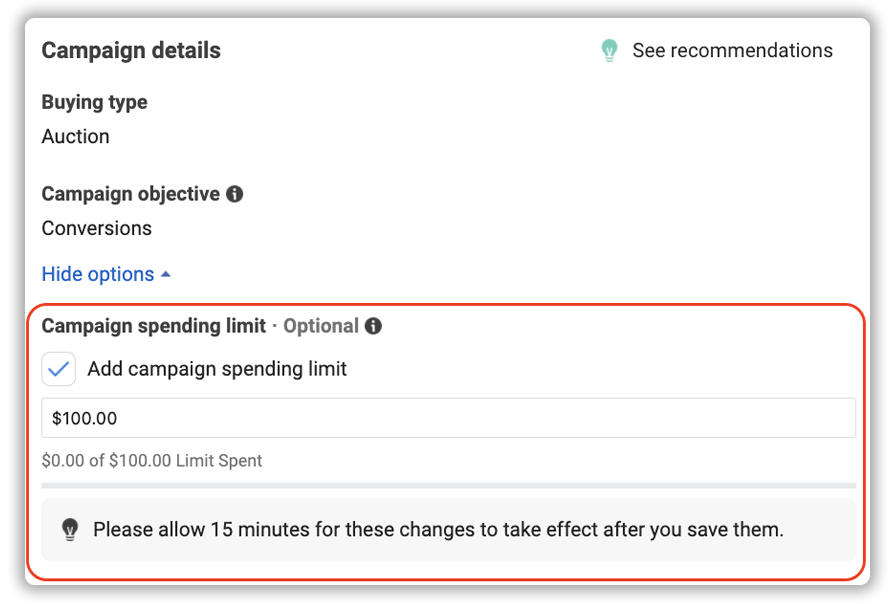
3. Add a campaign spending limit
This would make sure that the ad campaign will not go over the budget that you specify here. Once you go down to the next few steps and set up “Ad Sets” you will have further control over where this money is spent.
4. Click on ‘Next’
Step 04: Set up your Ad set
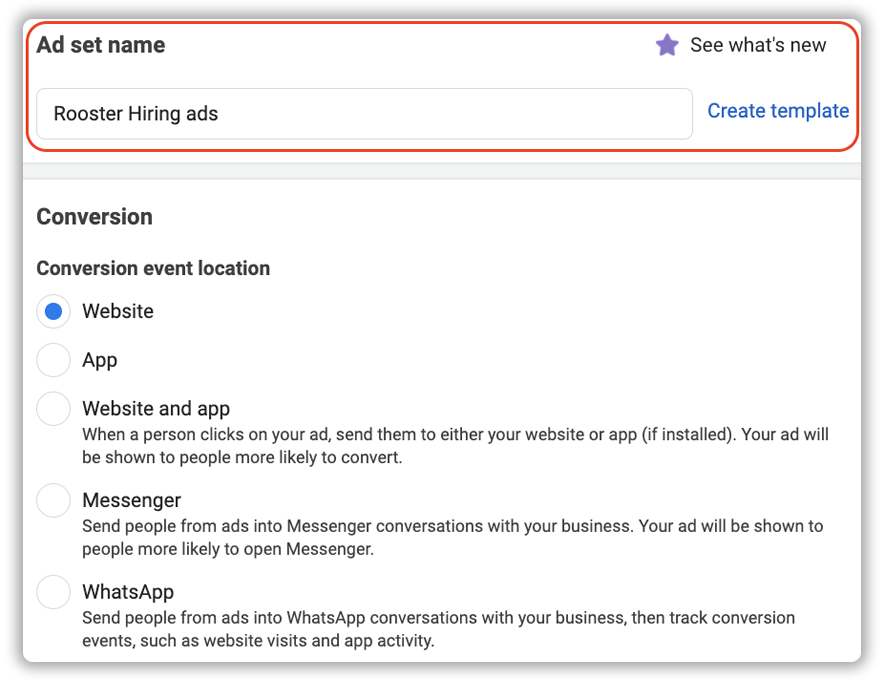
- Name your Ad set
- Set your conversation event location as ‘Website’.
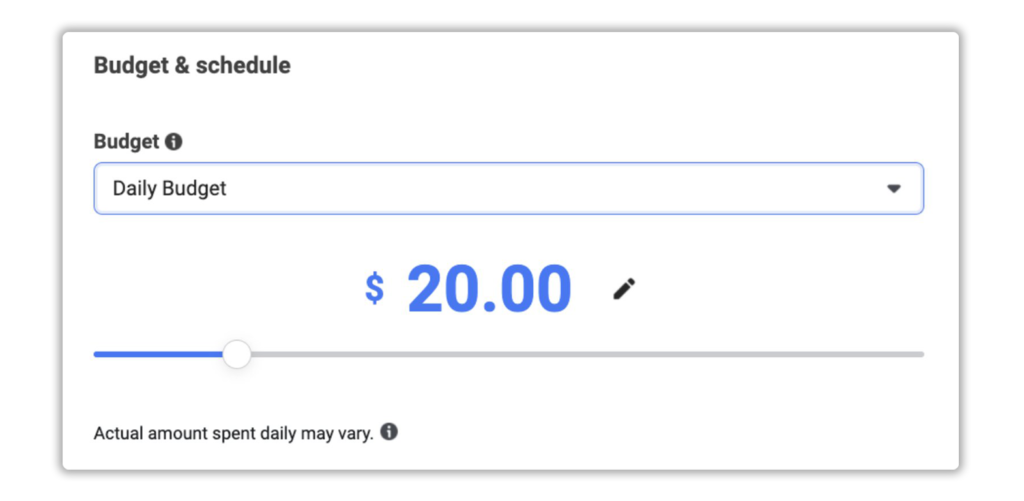
3. Set a budget
Set the budget preference to ‘Daily Budget’ and how much you’re willing to spend every day on ads.
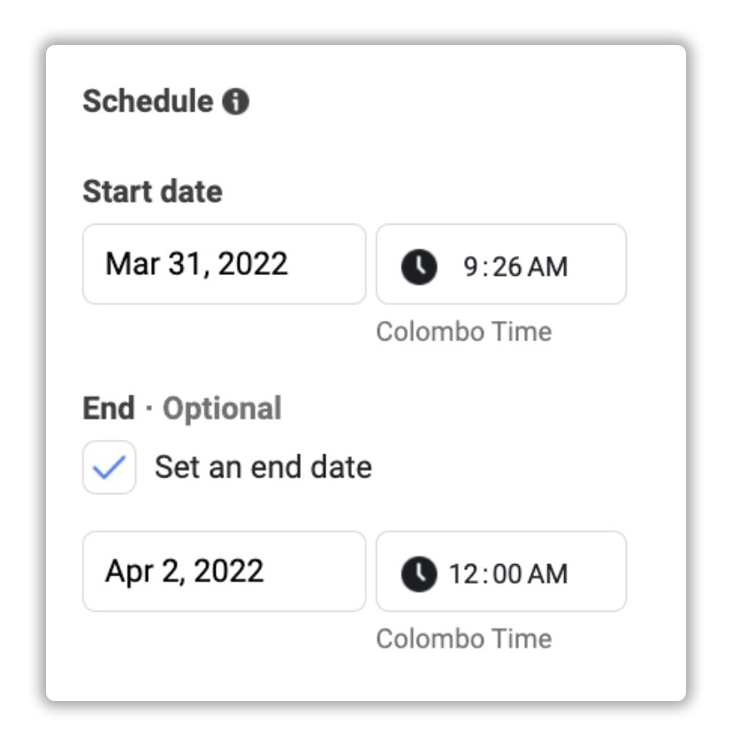
4. Set a start and end date and a time
- This would effectively dictate the duration that the ads will be live.
5. Create your target audience
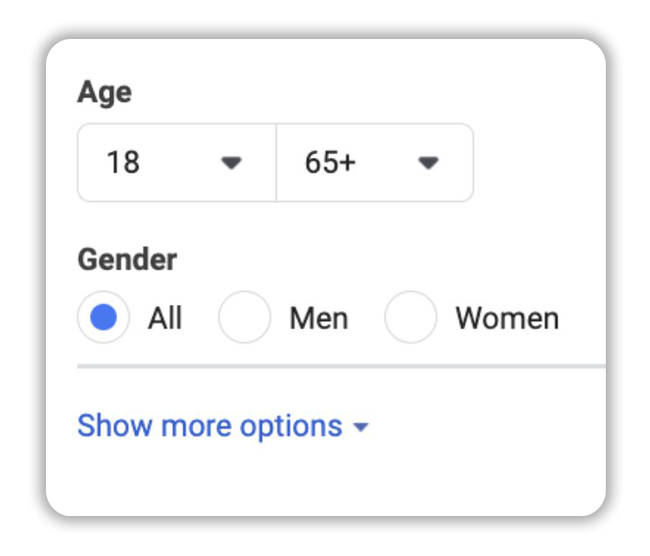
- Your audience’s age and gender will be default since this is an employment ad
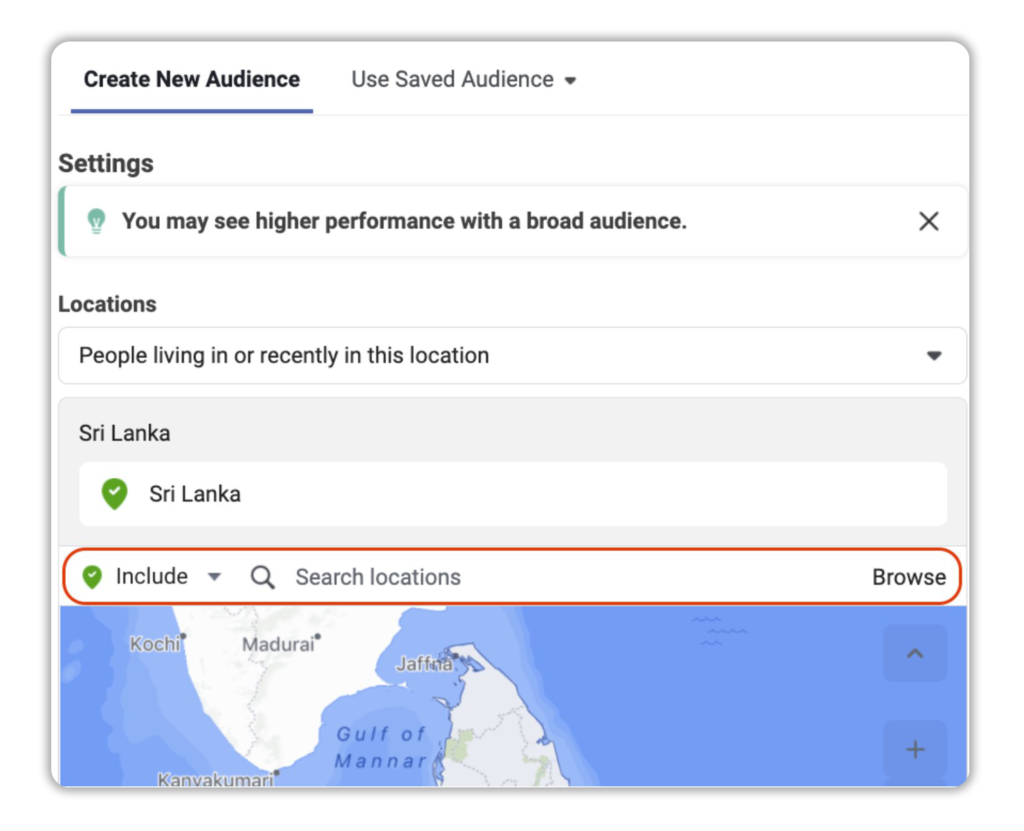
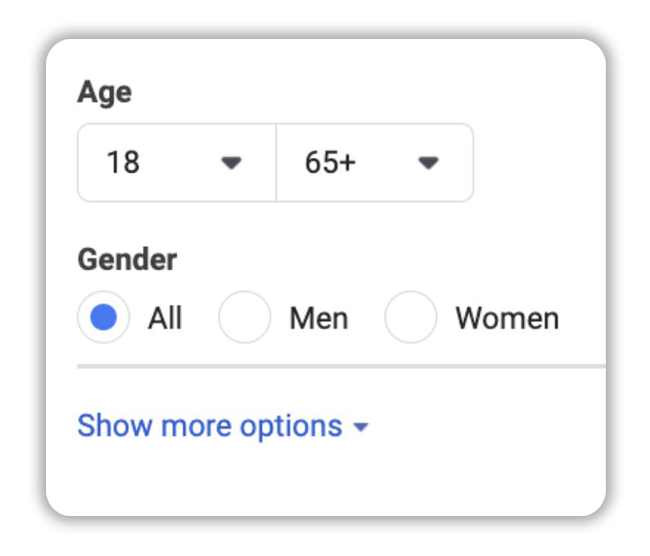
- Your audience’s age and gender will be default since this is an employment ad
Here’s an example of a target audience you could use.
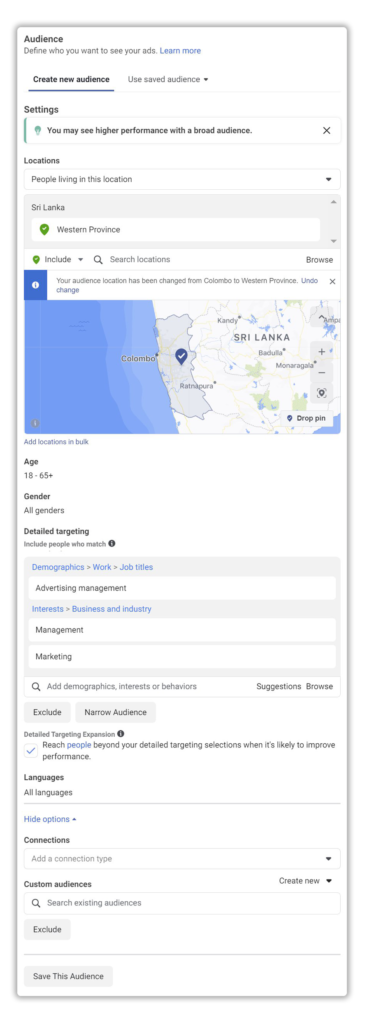
6. Click on ‘Next’.
Step 5: Finalize your Ad
- Give your ad a name.

2. Chose your social media pages
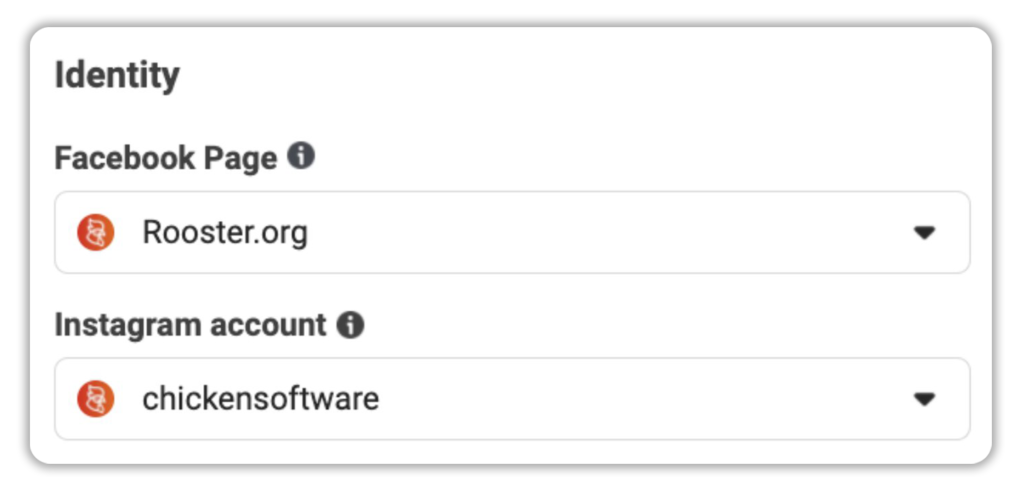
3. Finalize your ad setup
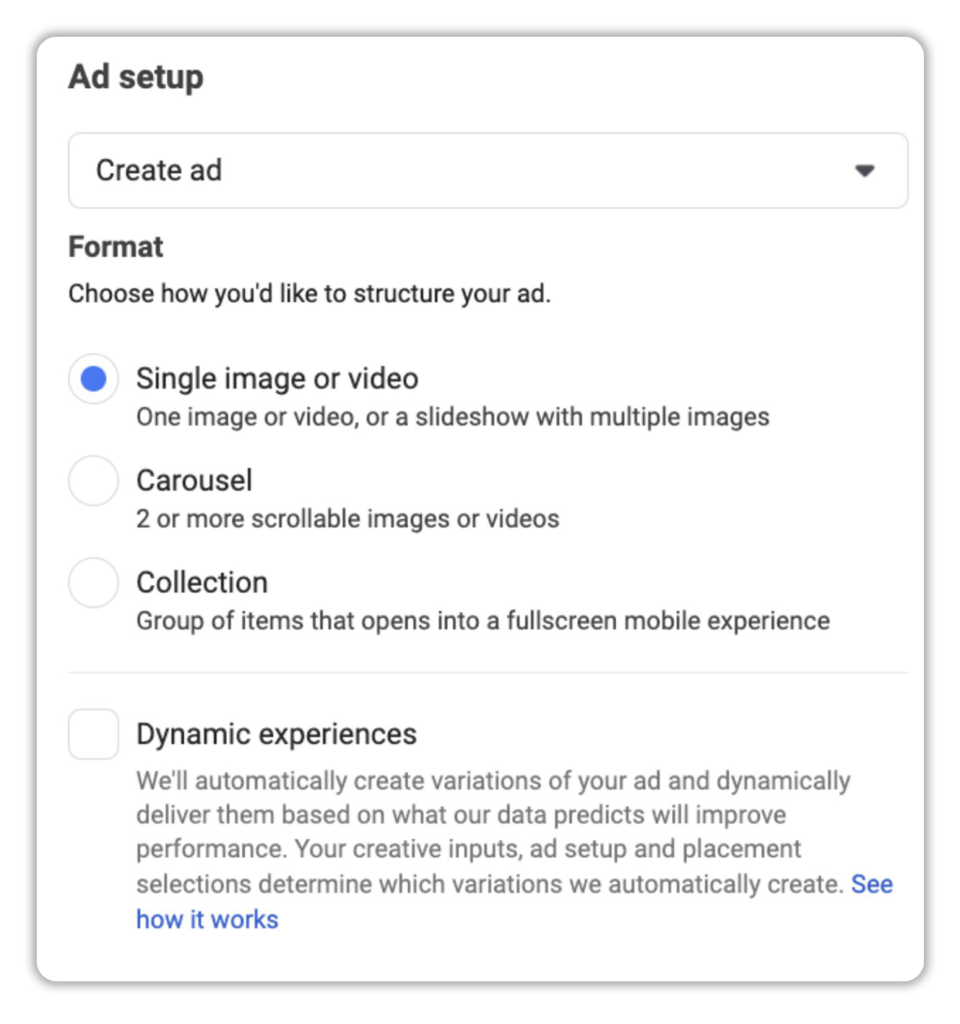
You can choose ‘Single image or video’ if you’re only advertising one position under your ad set, or you can choose ‘Carousel’ if you want to advertise multiple positions under your ad set.
4. Upload your ad creative
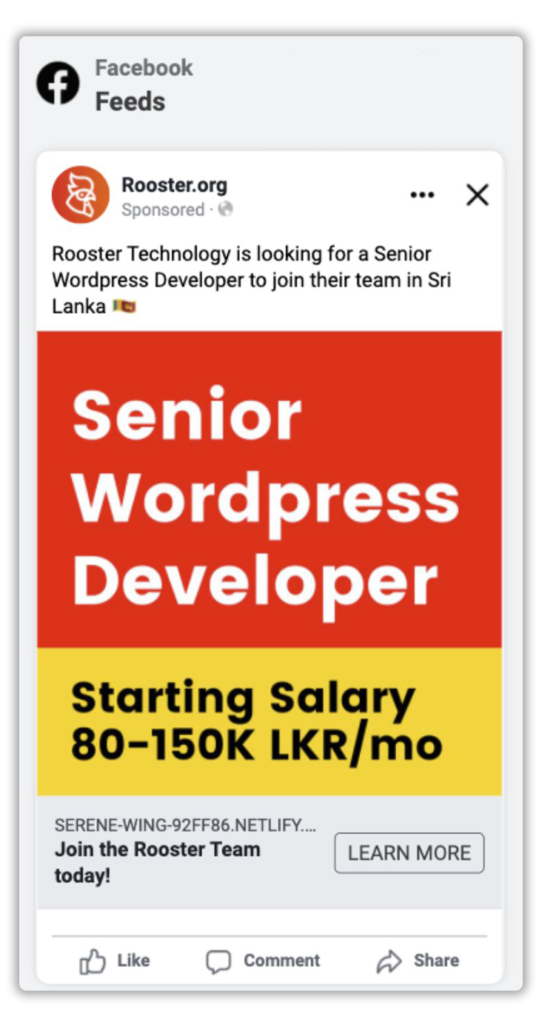
We recommend keeping your ad creative simple and direct. Try to include a salary range if possible, that could help you attract more candidates.
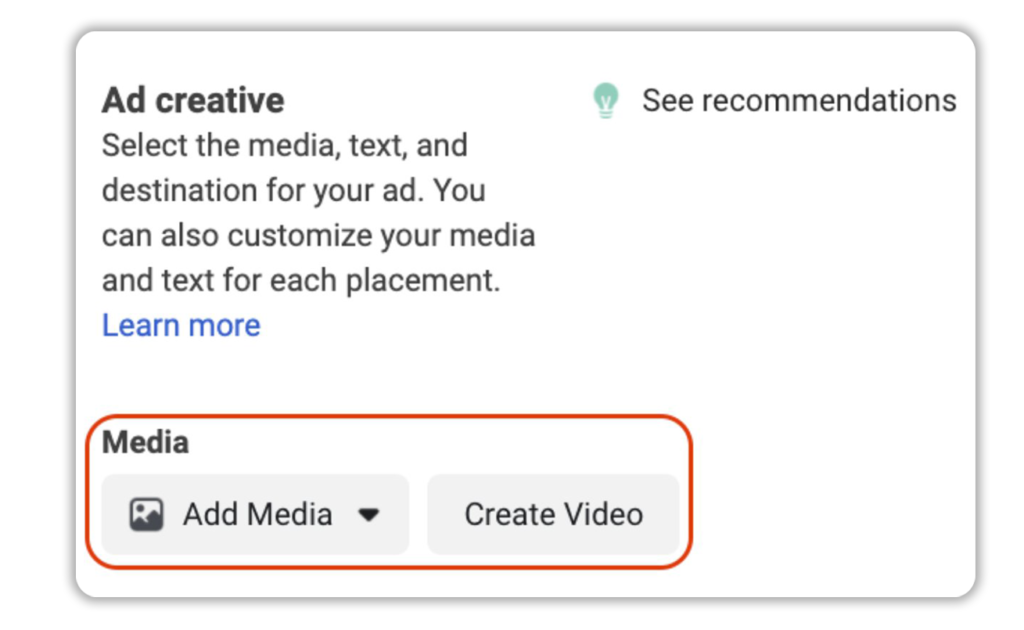
Here is an example of an ad creative that has proved to convert:

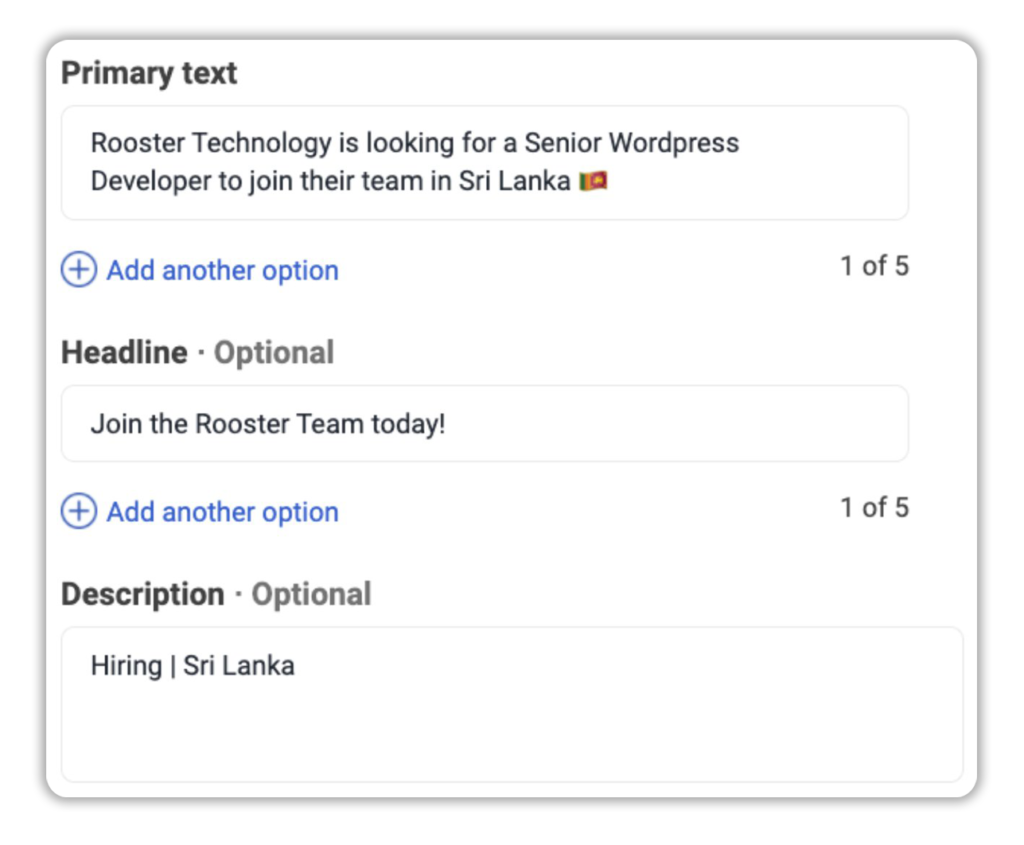
5. Add your primary text, headline, and description
Here’s an example of how all the text could be worded:
Your ad would look something like this:
6. Set your ‘Call to action

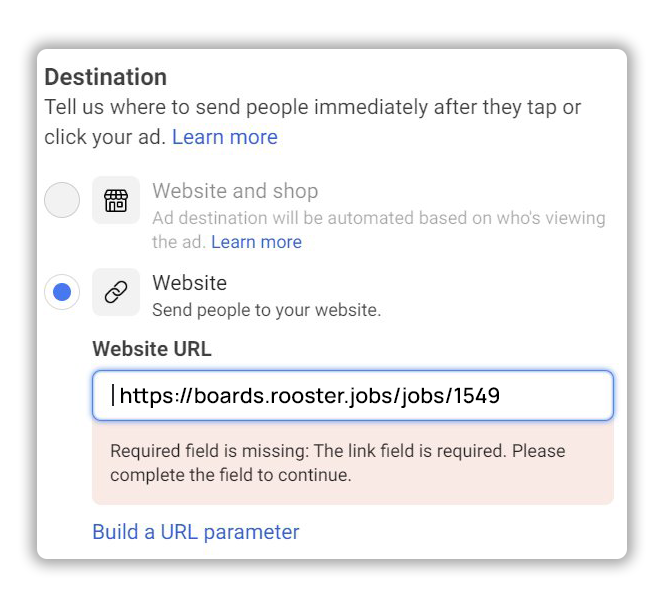
7. Add the Rooster job URL
You can find your Rooster job URL here:

Once you copy the link you can add it to the destination section:
Step 05: Publish your Ad
And, that’s it. Your job ad on Facebook and/or Instagram has now been set up and you can now go ahead and click on ‘Publish’ to launch your ad.


0 Comments